Improving your knife skills is one of the easiest ways to become a more efficient cook. This tutorial shows you how to hold a chef's knife and cut with it.
Learning how to hold a chef's knife and properly cut with it was one of the most life changing things (in the kitchen, that is) that I ever did. Just learning some basic knife skills has saved me hours in the kitchen, making meal prep efficient and far less frustrating.
Years ago, when my husband and I lived in New York City, I took several cooking classes at The Peter Kump Cooking School, now renamed the Institute of Culinary Education. There was one class that completely changed the way I prep food - Knife Skills, taught by Norman Weinstein, who is known as New York's best Chinese cooking teacher. We did it all in that class - chopping, dicing, filleting, boning, carving. However, as I was at the beginning of my home cooking career, the instructions on holding and chopping with a chef's knife were a revelation to me.
How to hold a chef's knife:
Grip the base of knife blade, just in front of the handle, with your thumb and index finger. Wrap your remaining three fingers around the handle of the knife.
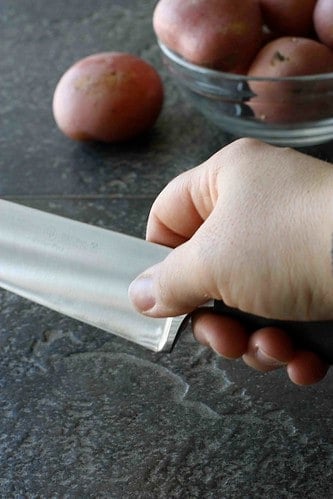
This felt awkward for me at first, but after a few days of forcing myself to hold the knife this way, I found that I had increased control of the knife. Now it just feels right and I can not imagine holding the knife any other way.
How to cut with a chef's knife:
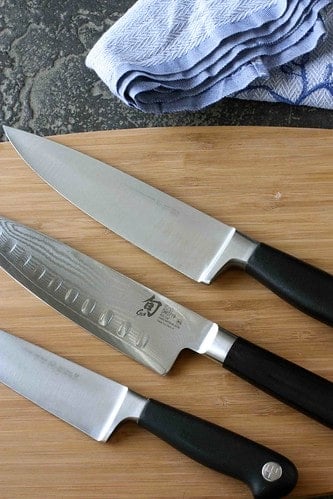
If you ever find that your arm gets tired when you are prepping vegetables for dinner, this technique will help you immensely. Have you ever wondered why it is necessary to use a chef's knife with such a long blade? Before I took Mr. Weinstein's class, I had never even held a chef's knife. I was a paring knife-only kind of gal and was certain that I would lop off a finger with any knife with a blade longer than four inches. However, I learned that the long blade enables the cook to make a long diagonal slice that feels almost effortless. Let me show you what I mean.
When cutting, start with the blade area near the tip of the knife. Instead of cutting straight down, run the the knife through the vegetable or meat by sliding the knife away from you while exerting downwards pressure. Depending on the thickness of the items you are cutting, you will finish halfway or near the butt end of the blade. Voila - easy and efficient.
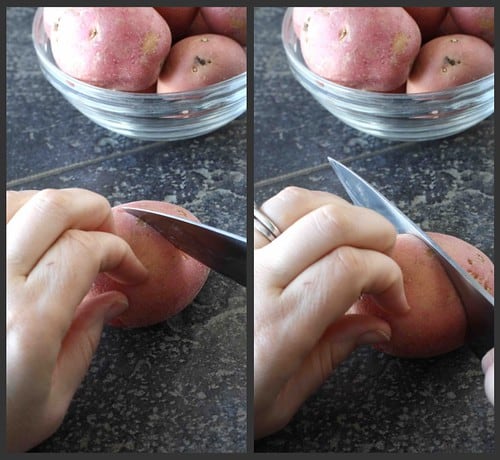
To avoid any kitchen accidents (believe me, I had my share of them before I learned my lesson), curl your fingers under so that your knuckles are closest to the knife and your fingertips are well out of the danger zone. This will feel awkward at first but, with practice, it will become natural and you will come away with all ten fingers in working order.
Other how-to tutorials on this site:
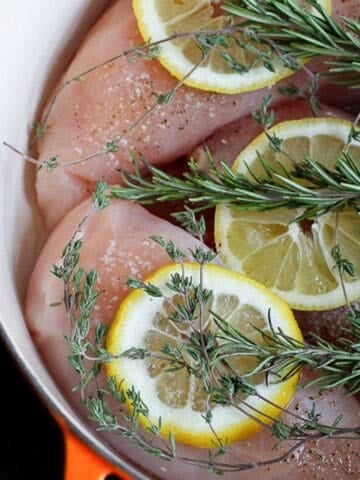
How to Poach Chicken Breasts
How to Chop Parsley & Cilantro
How to: Roast a Bell Pepper
How to Freeze Quinoa
Disclosure: I am a participant in the Amazon Services LLC Associates Program, an affiliate advertising program designed to provide a means for me to earn fees by linking to Amazon.com and affiliated sites.
![]()


Susan
Guess I now have no excuse for not learning how to hold my knives properly! Thanks for the lesson.
Mitchel
The proper way to hold a knife is a great thing to teach -- especially when people start stepping up to "real" knives that kept sharp.
But one thing that should also be stressed is NEVER disrespect a knife! Not even for one moment. I know better, but I was cutting the fat off a brisket working toward my hand holding the meat from slipping. Half-way through I thought "I shouldn't do this...I'll just carefully finish this cut then cut away from myself like I'm supposed to".
After all -- I was just cutting soft fat! Just about then the knife suddenly slipped through to very soft fat...right into my finger. Rush to the emergency room with a huge flap hanging off my knuckle. Ended up several weeks healing then therapy to get the finger opening and closing correctly...
...All because I was "just going to be careful" this time.
(hurts again just thinking about it!)
Kimby
As a piano player and someone who dabbles in the kitchen regularly, I can't tell you how much I appreciate this post. 🙂 Thanks!
Dara (Cookin' Canuck)
I'm so glad it was helpful to you, Kimby!
Terra
Great idea for a blog! So many people hold their knives wrong when chopping food. Can be scary...
Delishhh
Great advice! I love your new series.
Shaina
I totally have knife lust all of a sudden.
Cheryl@picture-perfectmeals
Great post! I had to learn it all the hard ( and bloody) way. I'll have a few friends to whom I'll refer this post. great and useful information. Thanks!
Carolyn
This is very timely, you have no idea. I truly am terrible at chopping, slicing and dicing, I really need a tutorial (or even a full-on class!).
Lana
You give me hope:) I am also a paring knife girl, and even though I tried the "right" way, I can finish slicing and dicing much faster the "wrong" way.
I guess it has to take time and undoing of bad habits.
Also, it is going to be hard to move the knife AWAY from me, as I am used to pull it towards me.
Good tutorial, despite my griping:)