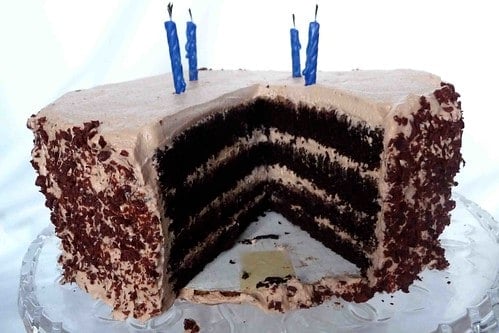
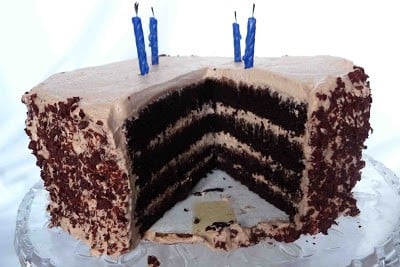
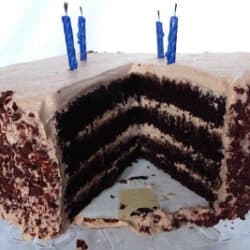
This chocolate mousse-filled chocolate layer cake is definitely worthy of a special occasion! Tender chocolate cake and light-as-air chocolate mousse in every bite.
I don't need a reason to make a chocolate layer cake. Because the wind was blowing, because my kid scored a goal in his soccer game, or because I ran 3 miles without sucking wind the whole way are all legitimate reasons in my book. You can see my flawed logic with the 3-mile run reason, right? And I wonder why I have to do deep-knee bends to make my jeans fit respectably.
However, this time I had not one, but two great reasons to make a chocolate cake. Most importantly, we were celebrating my husband's 40th birthday. This cake was a perfect ending to our meal of Rick Bayless' Smoky Peanut Mole with Pork Tenderloin.
The less important reason, though somewhat monumental to me, is that this is the 100th post on Cookin' Canuck. And I have loved every minute of it (well, except the extra dishes and the horrible oatmeal squares I made, but didn't post, last week)! Thanks to all of my readers for making this such an enjoyable experience and encouraging me to continue.
This rich, moist chocolate mousse cake is from one of my favorite food bloggers, Deb at Smitten Kitchen. Deb filled and iced her cake with a chocolate ganache. While this sounds absolutely fabulous, I decided to go with something a little lighter. So, I made a chocolate mousse to fill and ice the cake. This is not a real chocolate mousse (no egg yolks, etc.), but it has the airiness that I was looking for. And, well, it was just darned good.
How to Make a Chocolate Layer Cake:
Preheat the oven to 325 degrees F. Grease two 9-inch round cake pans and line the bottoms with parchment paper.
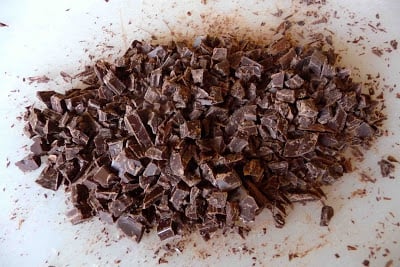
Finely chop 3 ounces good-quality semisweet chocolate.
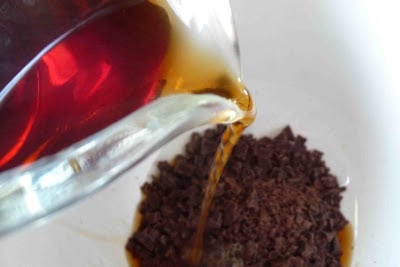
Place the chocolate in a medium bowl and pour in 1 ½ cups hot brewed coffee. Stir until the chocolate is melted. Set the mixture aside.
Using a large bowl, sift together 3 cups sugar, 2 ½ cups all-purpose flour,
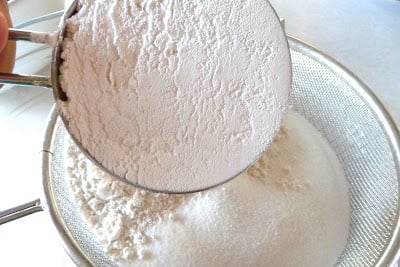
1 ½ cups unsweetened cocoa powder (not Dutch process),
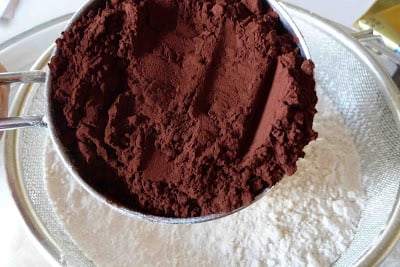
2 teaspoons baking soda, ¾ teaspoon baking powder, and 1 ¼ teaspoons salt.
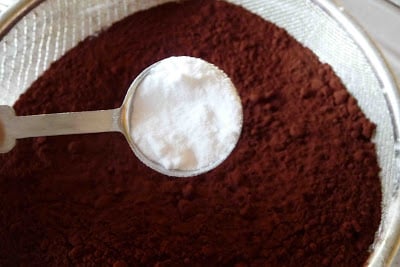
Mix well with a whisk.
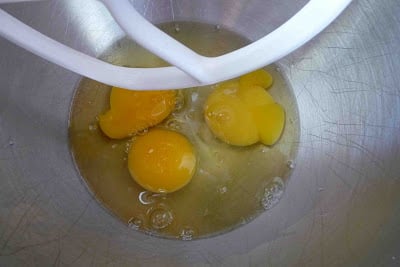
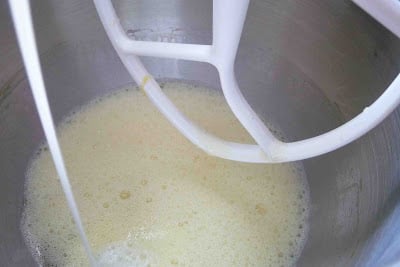
In the bowl of a mixer (or just a large bowl if you're using a hand mixer), beat 3 large eggs until they thicken slightly, about 3 minutes.
Gradually add ¾ cup canola or vegetable oil,
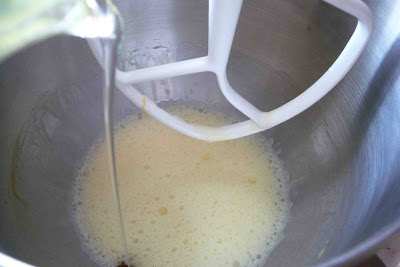
1 ½ cups buttermilk (be sure to shake it well),
¾ teaspoon vanilla,
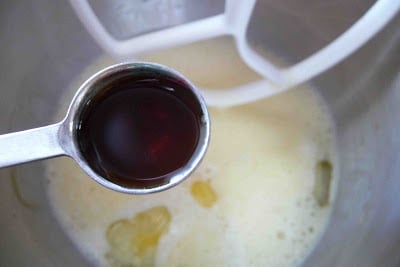
and the chocolate/coffee mixture. Mix well.
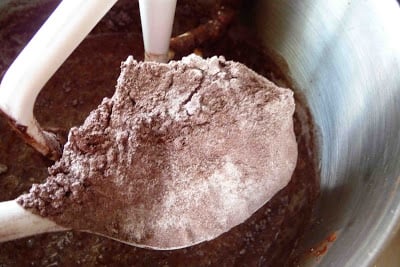
Gradually add the sugar mixture, and beat on low speed until combined. Avoid beating on medium or high speed so that there is not too much air in the batter. Do not overmix or the cake will become tough.
Pour the batter into the prepared pans and bake until a tested inserted in the center comes out clean, about 50 to 65 minutes.
Place the pans on a rack and let the cakes cool in the pans for 20-30 minutes. Once cool, invert the cakes onto the rack. Carefully remove the parchment paper.
Making the cake layers ahead of time:
I recommend making the cake layers earlier in the day or the day before. Once the layers are completely cool, wrap well in plastic wrap and refrigerate. If you have the opportunity, freeze the layers for about 1 hour. This will allow the cake to become slightly firm, which will make the layers much easier to split later.
Making the chocolate mousse:
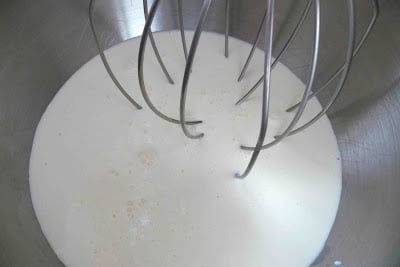
In the bowl of a mixer, using the whisk attachment (or using a hand mixer), beat 2 ½ cups of heavy whipping cream just until stiff peaks barely form (i.e., stiffer than soft peaks).
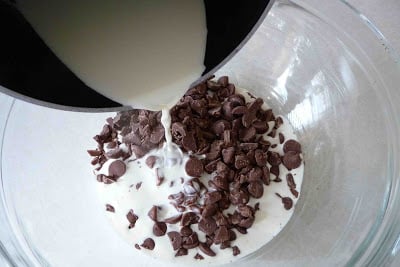
Place 10 ounces of chopped milk chocolate (I used milk chocolate chips for this) in a medium bowl. Heat 1 cup of heavy whipping cream in a small saucepan, just until bubbles start to form on the surface. Pour the cream over the milk chocolate.
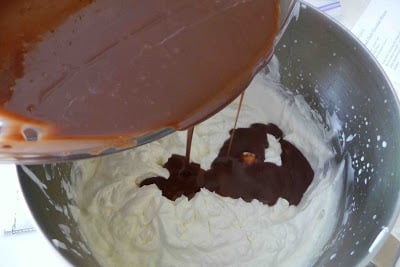
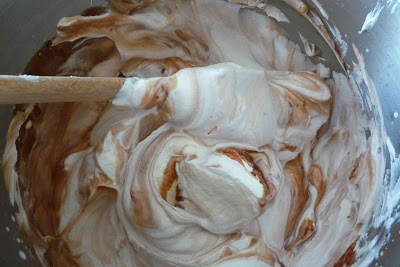
Using a whisk, stir until the chocolate is completely melted. Let the mixture cool for 10-15 minutes. Pour the chocolate mixture into the whipped cream and fold until the two are well combined.
Assembling the cake:
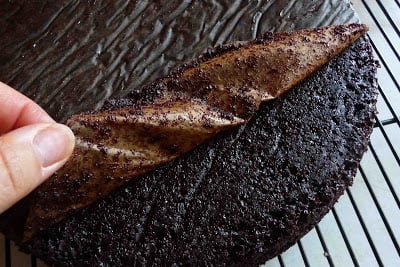
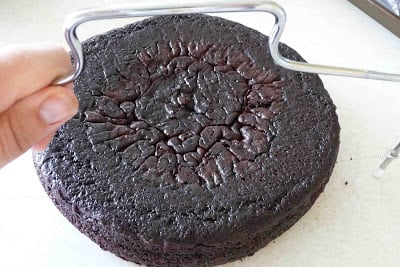
Cut the two layers in half horizontally, using a large serrated knife or a nifty cake leveling tool like this one.
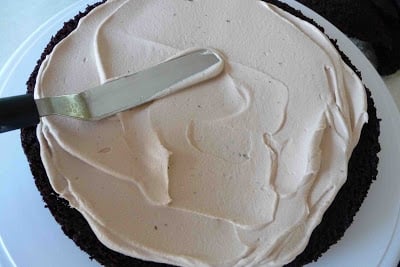
Place one of the cake layers on a serving dish or a cake circle and smooth ¾ cup of the mousse on the top of the cake layer.
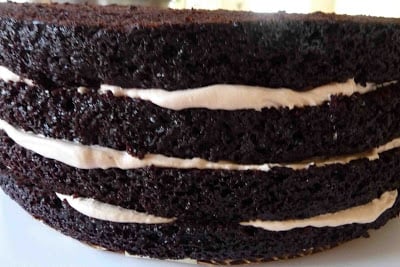
Repeat with the rest of the layers, so that there are 4 layers of cake and 3 layers of filling.
To make the cake as even as possible, place a serrated knife vertically against the cake and cut off any uneven parts. This is not essential, but it makes for a nicer presentation.

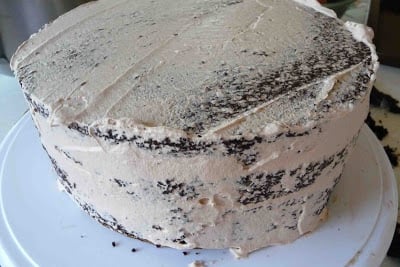
With a small amount of the mousse mixture, cover the cake with a crumb coating (a light coating of icing). This will help to seal in the crumbs so that you don't end up with a bunch of crumbs in your final icing layer. Cover and chill for 30 minutes.
Using an offset spatula, ice the cake with the rest of the mousse mixture. On the large holes of a box grater, grate about 4 ounces of semisweet or bittersweet chocolate. Cup some of the shavings into the palm of your hand and gently press the chocolate onto the side of the cake. Continue with the rest of the shavings. Cover and refrigerate until ready to serve.
Eat and enjoy!
Printable Recipe
Want to save this recipe?
Chocolate Mousse-Filled Chocolate Layer Cake
Ingredients
The cake:
- 3 ounces good-quality semisweet chocolate finely chopped
- 1 ½ cups hot brewed coffee
- 3 cups granulated sugar
- 2 ½ cups all-purpose flour
- 1 ½ cup unsweetened cocoa powder (not Dutch process)
- 2 teaspoons baking soda
- ¾ teaspoon baking powder
- 1 ¼ teaspoon salt
- 3 large eggs
- ¾ cup canola oil
- 1 ½ cups buttermilk well-shaken
- ¾ teaspoon pure vanilla extract
The filing:
- 3 ½ cups heavy whipping cream divided
- 10 ounces milk chocolate chopped
- 4 ounces semisweet or bittersweet (70%) chocolate
Instructions
The cake:
- Preheat the oven to 325 degrees F. Grease two 9-inch round cake pans and line the bottoms with parchment paper.
- Place the chopped chocolate in a medium bowl and pour in hot brewed coffee. Stir until the chocolate is melted. Set the mixture aside.
- In a large bowl, sift together sugar, flour, cocoa powder, baking soda, baking powder, and salt. Mix well with a whisk.
- In the bowl of a mixer (or just a large bowl if using a hand mixer), beat eggs until they thicken slightly, about 3 minutes. Gradually mix in canola oil, buttermilk, vanilla, and chocolate/coffee mixture until the mixture is well combined.
- Gradually add the sugar mixture, and beat on low speed until combined. Avoid beating on medium or high speed so that there is not too much air in the batter. Do not overmix or the cake will become tough.
- Pour the batter into the prepared pans and bake until a tested inserted in the center comes out clean, about 50 to 65 minutes. Place the pans on a rack and let the cakes cool in the pans for 20-30 minutes. Once cool, invert the cakes onto the rack. Carefully remove the parchment paper.
- I recommend making the cake layers earlier in the day or the day before. Once the layers are completely cool, wrap well in plastic wrap and refrigerate. If you have the opportunity, freeze the layers for about 1 hour. This will allow the cake to become slightly firm, which will make the layers much easier to split later.
The mousse:
- In the bowl of a mixer, using the whisk attachment (or using a hand mixer), beat 2 ½ cups of heavy whipping cream just until stiff peaks barely form (i.e.,stiffer than soft peaks).
- Place chopped milk chocolate in a medium bowl.Heat 1 cup of heavy whipping cream in a small saucepan, just until bubbles start to form on the surface. Pour the cream over the milk chocolate. Using a whisk, stir until the chocolate is completely melted.Let the mixture cool for 10-15 minutes.
- Pour the chocolate mixture into the whipped cream and fold until the two are well combined.
Assembling the cake:
- Cut the two layers in half horizontally, using a large serrated knife. Place one of the cake layers on a serving dish or a cake circle and smooth ¾ cup of the mousse on the top of the cake layer. Repeat with the rest of the layers, so that there are 4 layers of cake and 3 layers of filling.
- To make the cake as even as possible, place a serrated knife vertically against the cake and cut off any uneven parts. This is not essential, but it makes fora nicer presentation.
- With a small amount of the mousse mixture, cover the cake with a crumb coating (alight coating of icing). This will help to seal in the crumbs so that you don’t end up with a bunch of crumbs in your final icing layer. Cover and chill for 30minutes.
- Using an offset spatula, ice the cake with the rest of the mousse mixture. On the large holes of a box grater, grate about 4 ounces of semisweet or bittersweet chocolate. Cup some of the shavings into the palm of your hand and gently press the chocolate onto the side of the cake. Continue with the rest of the shavings. Cover and refrigerate until ready to serve.
Nutrition
Disclosure: I am a participant in the Amazon Services LLC Associates Program, an affiliate advertising program designed to provide a means for me to earn fees by linking to Amazon.com and affiliated sites.
![]()

MrsLavendula
i dont think i could ever bake a cake, but i thank people like you who show such beautiful work and make me want to run to the nearest pastry shop! hehehe!
congrats on your 100th post!
CheapAppetite
Congrats on your 100th post Cookin' Canuck. Great work as usual. I love the look of this chocolate cake. Wish I could have a piece:)
The Klutzy Cook
That is a great looking cake and I love the mousse icing. Well done on reaching 100 posts, that is a great effort. Looking forward to the next 100!
TasteHongKong
Congrats to your 100th post and more to come ...
Divina Pe
Congratulations on your 100th post and happy birthday to you husband too. I couldn't resist any kind of food chocolate cake.
DINING WITH BATALI
Happy Birthday and CONGRATS!!!! Cake looks DEEEE--LISSSH!!!!!
JodieMo
Mmmm...chocolate cake! I must look away! It looks too delicious!
lululu
way to go, 100th post!
i dont need any reason to make a cake neither! just the mood comes, u know!
this cake looks indulgent!
Miranda
I am making this cake as we speak. I am changing the icing also, but the tiers look beautiful.
Rochelle
Congratulations on 100 posts! That cake you've got going for it looks insanely good too!