

This turkey gravy has been a no-fail recipe for our family for years. But if you run into any troubles, there are plenty of tips included for fixing your gravy.
While the Thanksgiving feast is often filled with potential pitfalls, from overcooked turkey to lumpy mashed potatoes, nothing seems to cause more angst than making gravy.
If done well, turkey gravy can be the star of the show, enveloping everything on the plate in a rich, savory blanket.
If you are like my brother-in-law, gravy is by far the most important part of the meal, prompting your relatives to buy you a gravy thermos so that you can have your own personal supply of the thick sauce sitting beside your placemat. Everyone deserves to be indulged once in a while.
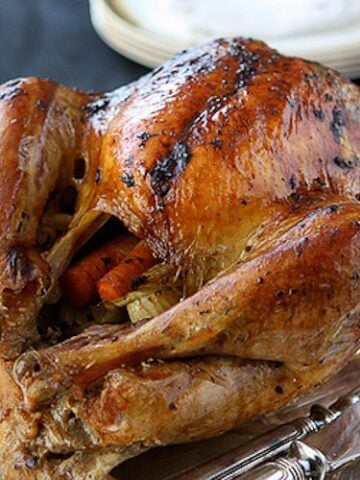
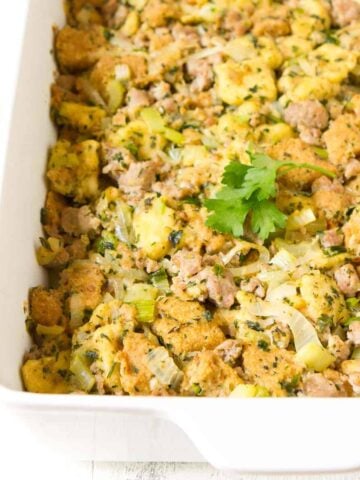
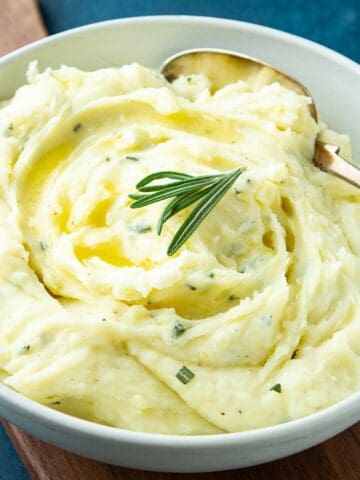
This gravy is fantastic paired with a whole Roast Turkey with Herb Butter , a Roasted Turkey Breast, Homemade Sausage Stuffing and Rosemary Mashed Potatoes. The more, the better!
Jump to:
Tools for making gravy
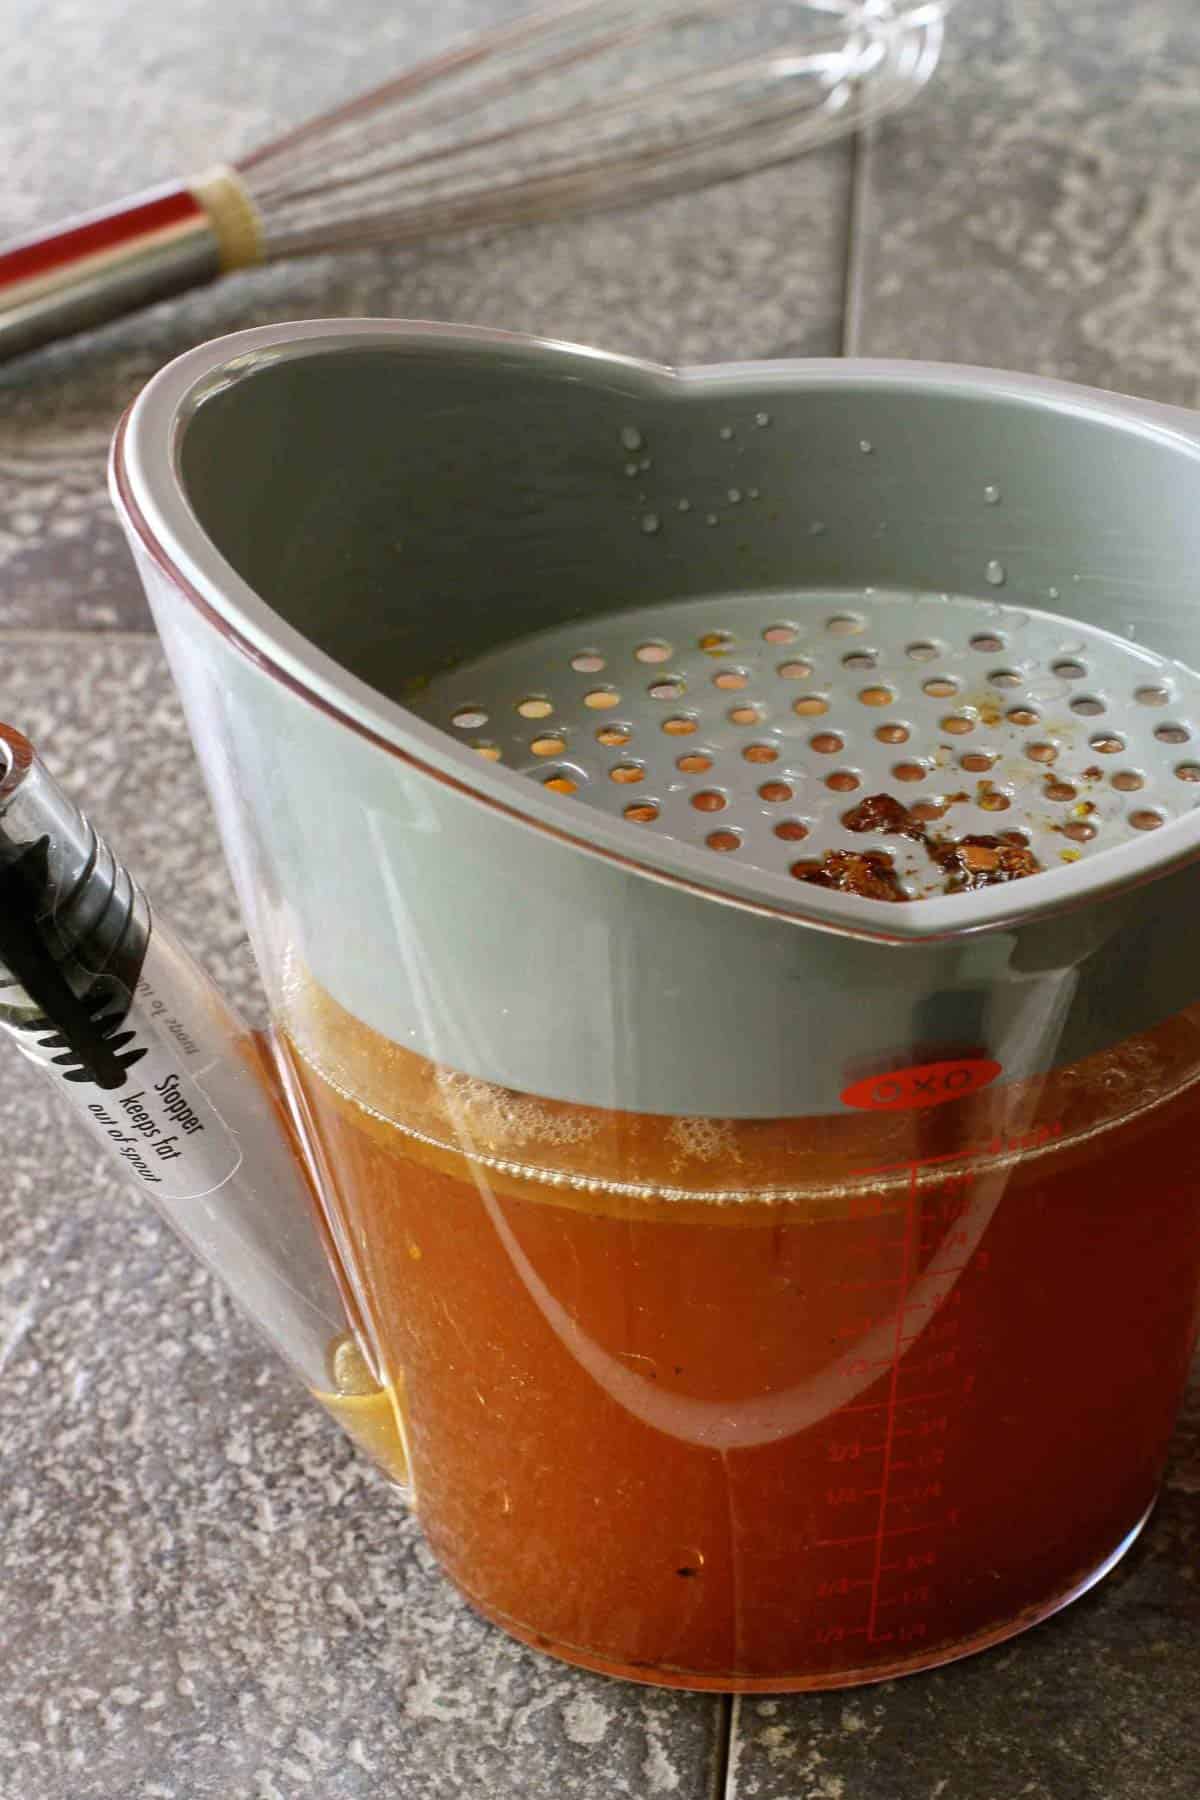
- Fat separator: This does a fantastic job of separating the fat from the drippings. Pour all of the liquid from the roasting pan into the separator. Once the oil rises to the top, pour the drippings through the spout.
- Whisk: If using a stainless steel roasting pan, any whisk will do. I like this one. If your roasting pan is nonstick, be sure to use a silicone whisk to avoid damaging the nonstick coating.
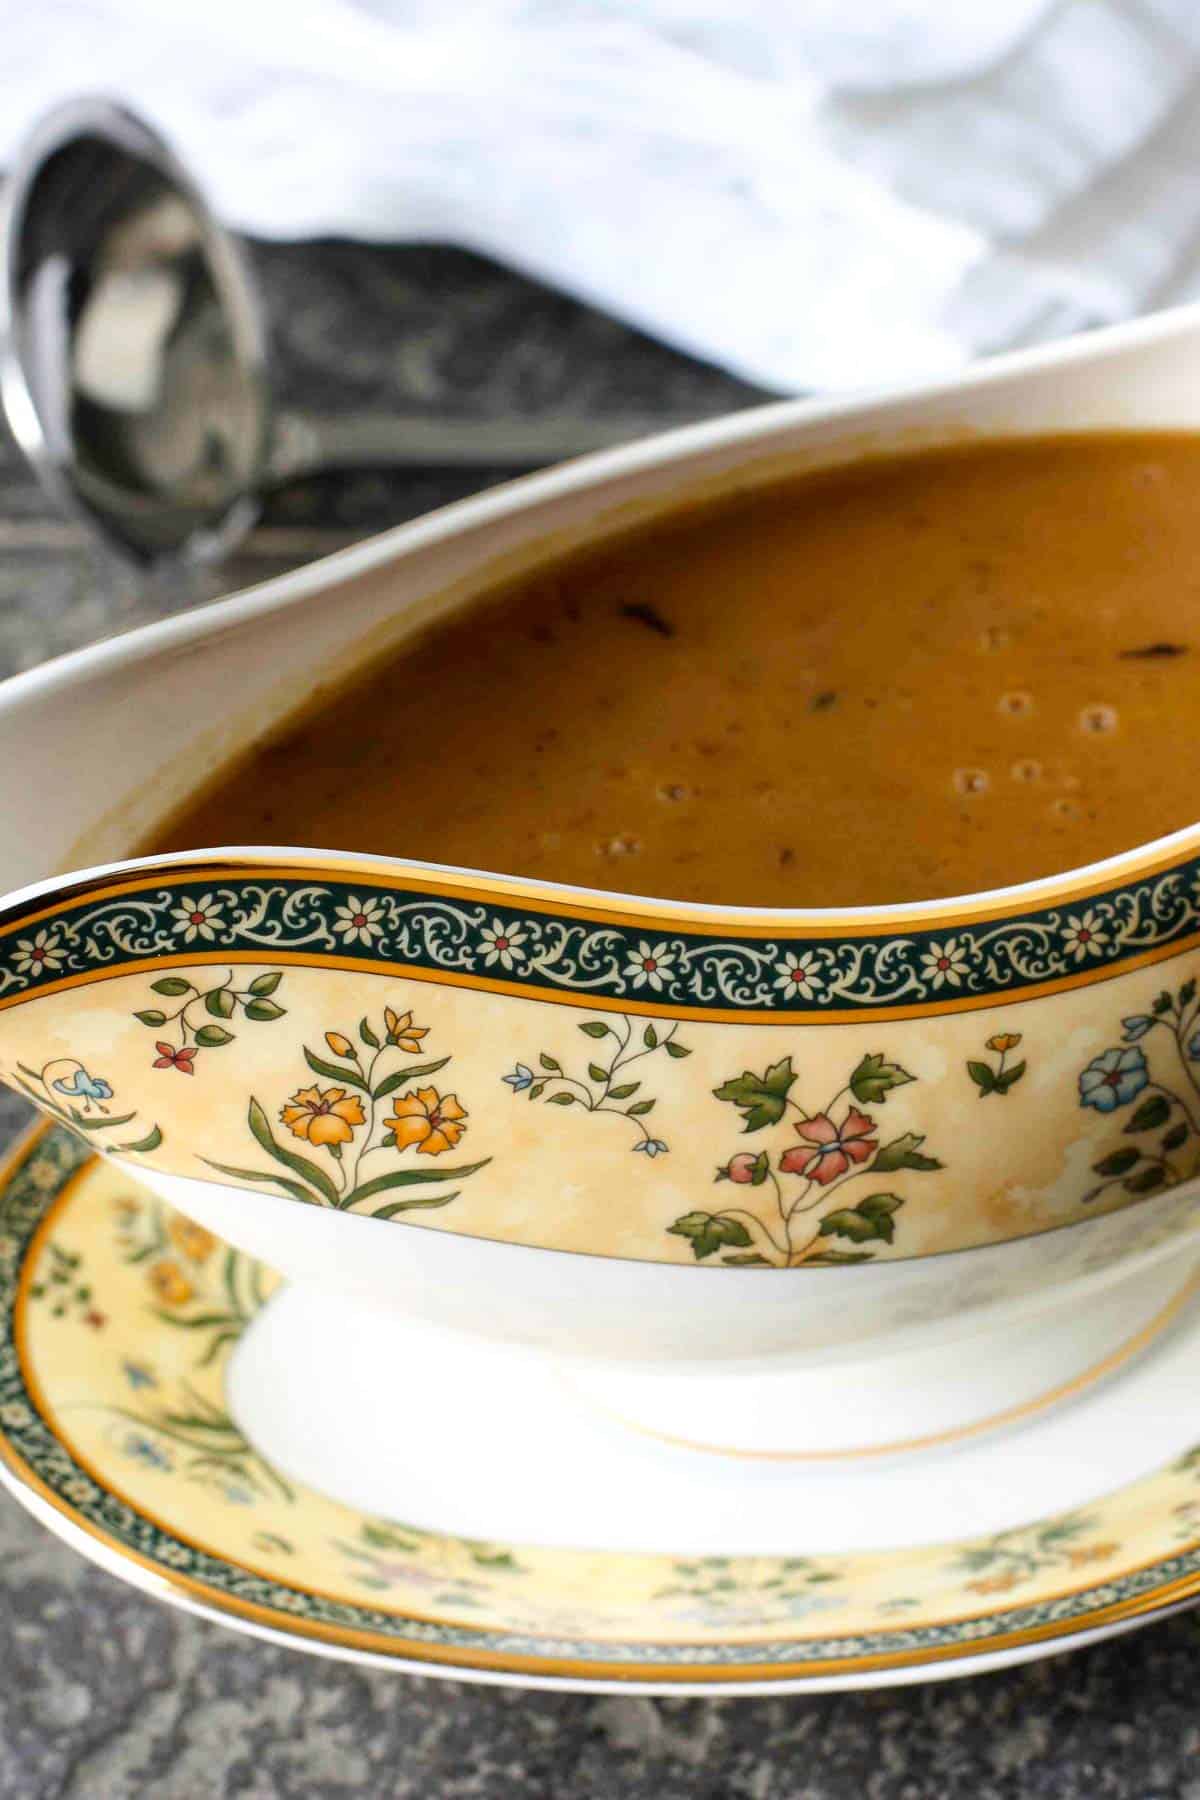
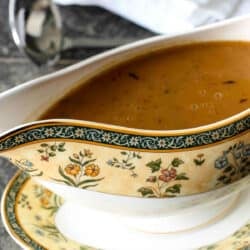
- Gravy boat: Serve your gravy in a pretty ceramic gravy boat. Store the extra gravy in an insulated gravy thermos to keep it warm.
KEEP IN TOUCH
and receive recipes straight to your inbox!
See recipe card below for full ingredients list & recipe directions.
How to make turkey gravy
SEPARATE THE FAT: Pour the turkey drippings into a large measuring cup. Let it rest for about 10 minutes, then spoon off and discard the fat. If you have a fat separator made for this purpose, then this process will be even easier. Add enough turkey or chicken broth to the drippings to total about 4 cups of liquid in all.
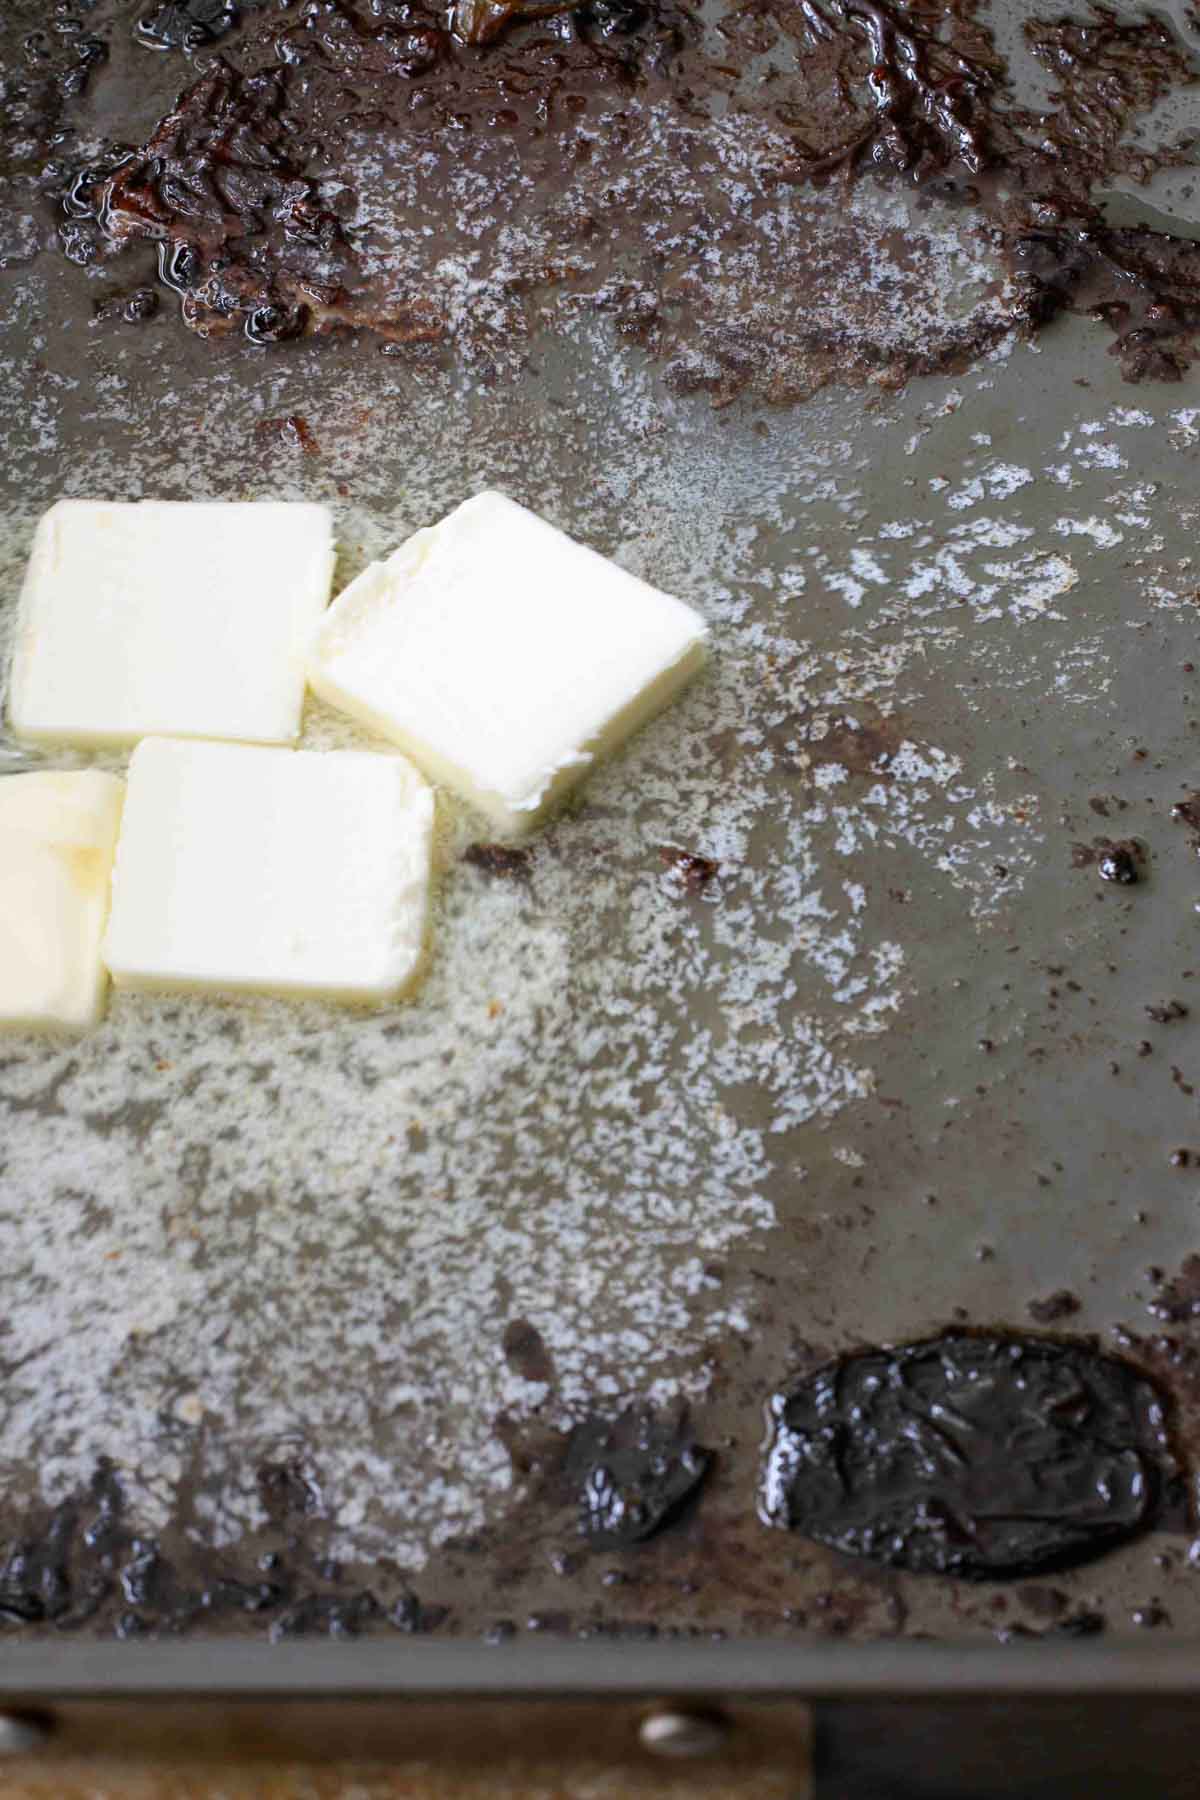
MELT THE BUTTER: Set the roasting pan, lovely brown bits included, over top burners that are set on medium heat. Add the butter and allow it to melt, scraping up the browned turkey bits with a wooden spoon.
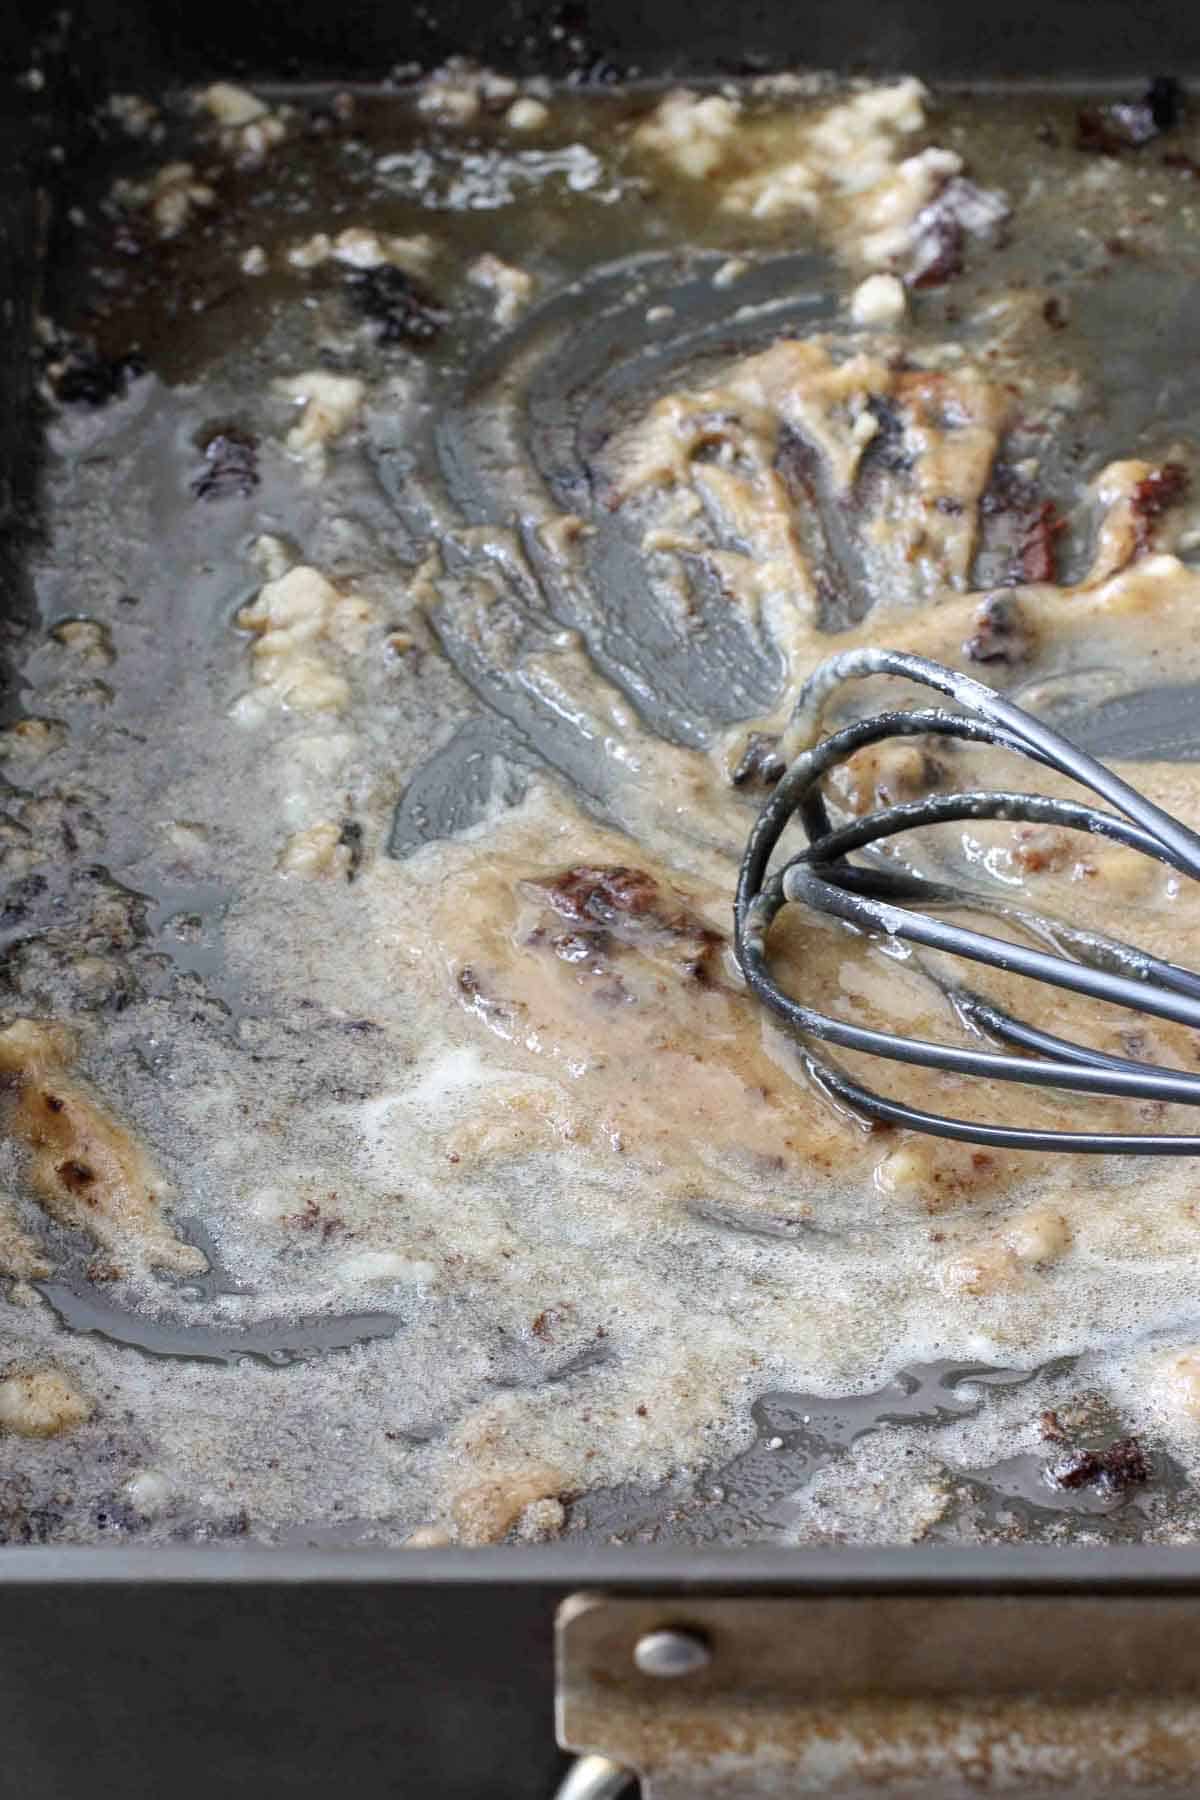
MAKE THE ROUX: Add flour and, using a whisk, stir until this mixture (called a roux, pronounced "roo") reaches a dark brown color, 4 to 5 minutes.
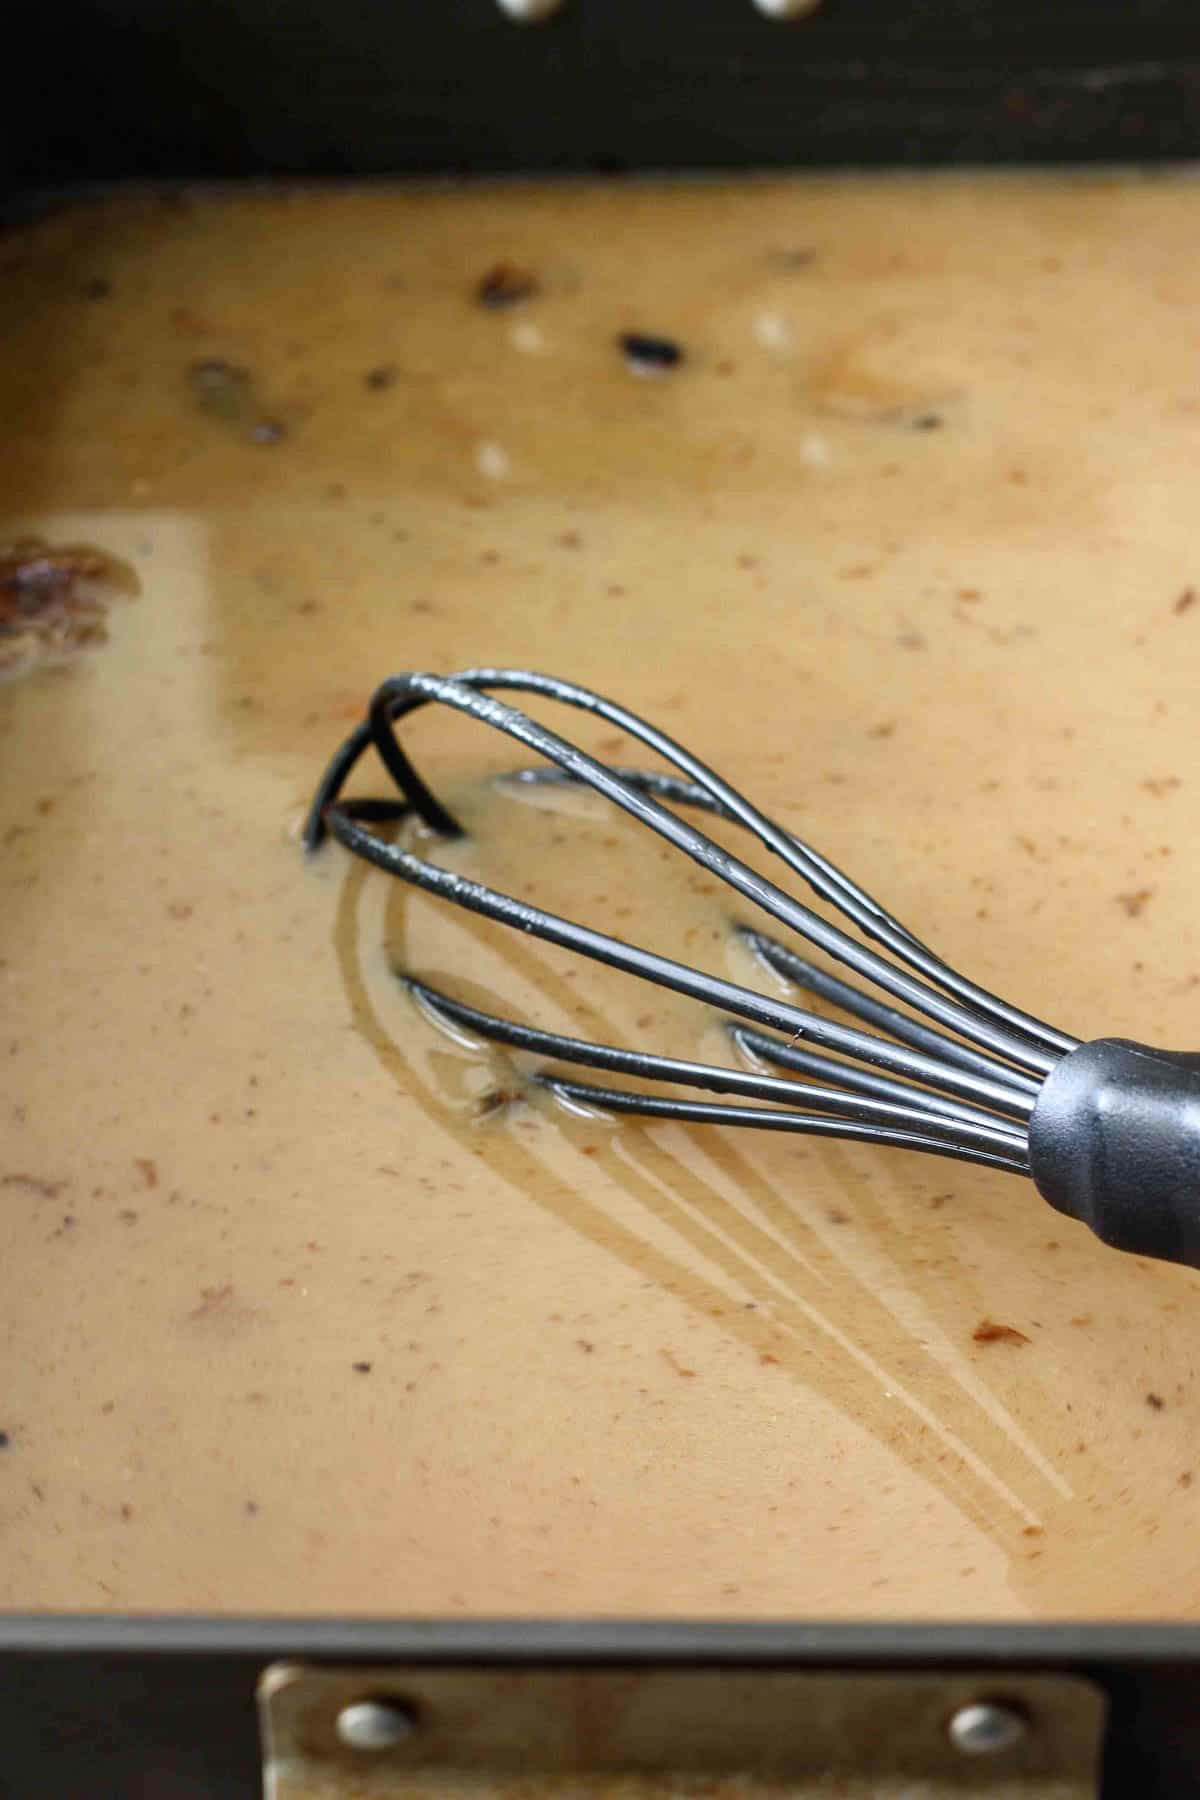

ADD THE BROTH: Whisking constantly, slowly add the broth mixture to the pan. Bring the mixture to a boil, whisking constantly.
THICKEN THE GRAVY: Reduce the heat slightly so that the mixture is simmering. Cook, whisking frequently, until the gravy is thick and smooth, about 15 minutes.
SEASON IT: Taste the gravy and season with kosher salt and ground black pepper, as needed.
KEEP WARM: Lower the heat and keep warm, whisking occasionally to stop a skin from forming, until ready to serve.
Double it!
You likely won't have extra turkey drippings, but you can still make a larger batch of delicious gravy. Simply double the amount of butter, flour and broth. You may need slightly more broth to make up for the missing drippings.
Make-Ahead and Storage
Prepare the gravy up to 3 days ahead of time. Transfer the cooled gravy to an airtight container and store it in the refrigerator.
Reheat it on the stove, adding a bit of broth if needed to reach the desired consistency.
Trouble-shooting tips
This gravy recipes starts with a roux, so simmering the gravy longer can thicken it. If the gravy still does not thicken, add a slurry. A slurry is made by completely dissolving flour or cornstarch in cold water. Whisk the slurry into the gravy, a little bit at a time, until the gravy thickens.
If gravy is too thick, whisk in additional turkey or chicken broth.
Whisk in some water to dilute the salt concentration. Alternatively, add a few thick slices of raw potato and simmer until the potato is soft. It will absorb the salt. Remove the potato before serving.
If your gravy has lumps, continue to simmer the gravy, whisking constantly, until the gravy is smooth. If the gravy still has lumps, pass it through a fine mesh strainer or process with an immersion blender.
Dishes to Smother with Gravy
If you make this recipe, please let me know! Leave a star rating ⭐️⭐️⭐️⭐️⭐️ and comment underneath the recipe card below. Thank you!
Printable Recipe
Want to save this recipe?
How to Make Turkey Gravy
Ingredients
- 3 ½ cups approximately turkey or low-salt chicken broth
- 4 tablespoon approximately unsalted butter
- 6 tablespoon all-purpose flour
- Kosher salt to taste
- Freshly ground black pepper to taste
Instructions
- Pour the turkey drippings into a large measuring cup. Let it rest for about 10 minutes, then spoon off the fat and discard. If you have one of those liquid measures made for this purpose, then this process will be even easier.
- Add enough chicken broth to the drippings to total about 4 cups of liquid in all.
- Set the roasting pan, lovely brown bits included, over top burners that are set on medium heat. Add butter and melt, scraping up the browned turkey bits with a wooden spoon. Add flour and, using a whisk, stir until this mixture (called a roux) reaches a dark brown color, 4 to 5 minutes.
- Whisking constantly, slowly add the broth mixture to the pan. Bring the mixture to a boil, whisking constantly.
- Reduce the heat slightly so that the mixture is simmering. Cook, whisking frequently, until the gravy is thick and smooth, about 15 minutes. Taste the gravy and season with salt and pepper, as needed.
- Lower heat and keep warm, whisking occasionally to stop a skin from forming, until ready to serve.
Notes
Nutrition
This post was first shared on November 19, 2010. Updated on November 21, 2023.
Disclosure: I am a participant in the Amazon Services LLC Associates Program, an affiliate advertising program designed to provide a means for me to earn fees by linking to Amazon.com and affiliated sites.

Jack
I followed the recipe as is and just added 1 teaspoon of Gravy Master. Best gravy I ever made. 🙂
Dara
I'm so thrilled to hear that, Jack! Thank you for commenting.
Kari@Loaves n Dishes
Great tutorial Dara! I like a gravy that's started with a roux, much tastier than one thickened with a slurry.
Dara (Cookin' Canuck)
I completely agree, Kari! The roux gives the gravy such a rich flavor.
carrie
Just used this recipe and it turned out perfect! Thanks.
Anna @ hiddenponies
Great tutorial - but you didn't troubleshoot my main problem, which is remembering to make the gravy as someone is already carving the turkey and everyone is already gathered around the table 🙂
How To: Simplify
This is such a fantastic "How To"! What a helpful tutorial!