Learn the basics of how to operate your DSLR camera in manual mode. An easy tutorial and a little practice is all it takes. Plus, enter for a chance to win a copy of Adobe Photoshop Element/Premiere Elements 13. Thank you to Adobe Photoshop Elements for helping me to share this post with you.
I'll never forget where I was when I learned the one thing that changed my photo-taking life. A few years ago, I attended a workshop in Park City taught by Diane Cu and Todd Porter of White on Rice Couple. If you've ever met Todd and Diane, you know that they are ceaselessly generous with their knowledge and have a way of teaching that makes you want to sit around their studio all day and absorb everything they know.
That day they taught me how to use my camera in Manual mode. I spent the rest of the afternoon taking photos in different lighting conditions…by the window or in a dark corner. I adjusted my settings, playing around to figure what worked and what didn't. I watched Diane adjust the settings on her camera without even looking, moving her fingers over the buttons as though the camera was just an extension of her body.
It took practice (and a lot of bad pictures) for Manual mode to feel natural. But let me tell you…I'll never go back. Having that kind of control over my camera is somehow liberating!
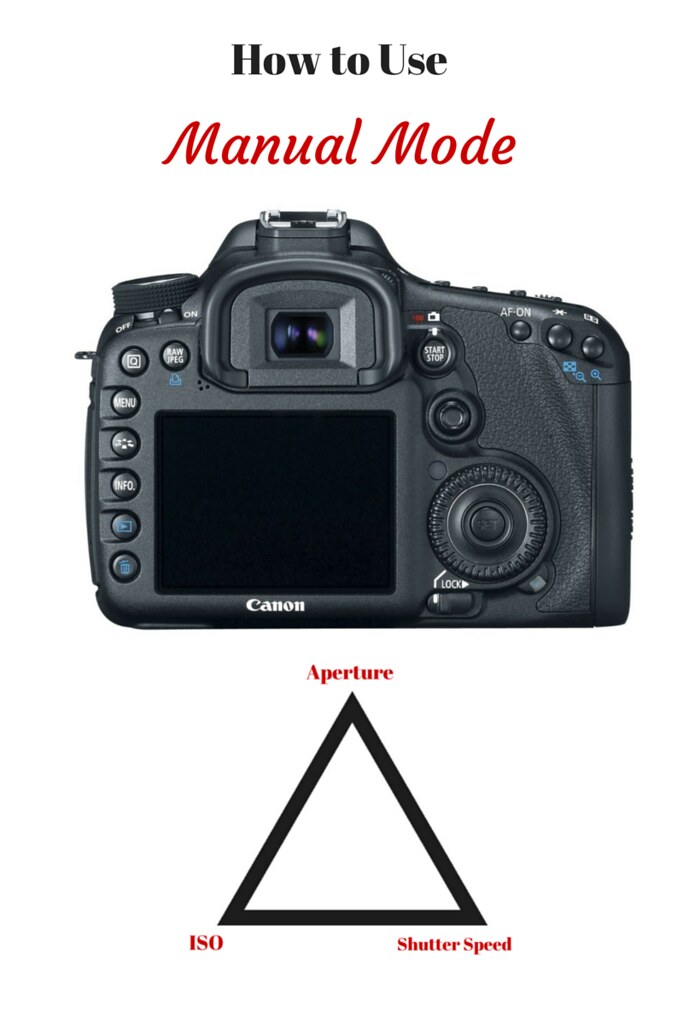
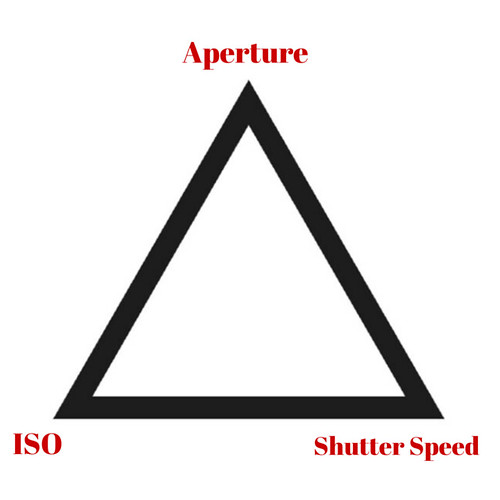
The way that Manual mode was described to me that day was as a triangle of three elements: ISO, aperture and shutter speed, all working in harmony.
Once you switch to Manual, your camera hands over all of the control to you. Unlike AV (aperture) mode or others, the camera does not choose any of the settings for you. Rather, you adjust the ISO, aperture and shutter speed dependent upon the conditions (i.e., lighting) and the effect you wish to achieve.
There are also adjustments that can be made in Photoshop Elements 13 to help you achieve some of the effects and make adjustments to compensate for a high ISO. We'll get to that later.
So, what exactly are ISO, aperture and shutter speed, and what do they do?
Aperture
If you think of your camera lens like an eye, the aperture works like the iris, letting in more or less light. The aperture works in "f-stop"s - f4.0, f11 and so on.
The thing that took me the longest time to wrap my brain around is that the smallest numbers (e.g., f1.4) represent the largest apertures and the largest numbers (e.g., f22) represent the smallest apertures. It took a bit of time to absorb that, but now it's second nature, thanks to a lot of practice.
Just to be clear, the larger the aperture (smaller numbers), the more light that's being let in. Smaller apertures (higher numbers) let in less light.
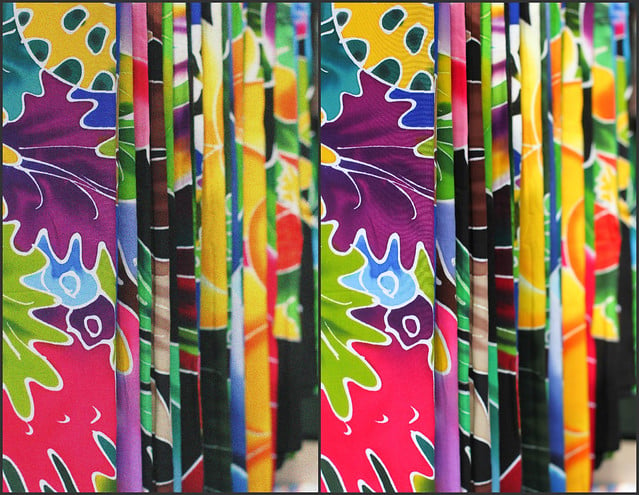
Another thing that's controlled by the aperture setting is depth of field. Do you know that blurry background effect that you see in many images? The amount of blur is controlled mainly by the aperture. Small aperture numbers (e.g., f1.4) denotes a small depth of field. In other words, less of the area around and beyond the subject are in focus. If you wish to have more of the photo in focus, use a larger depth of field.
These two examples show the same photo taken at different depths of field:
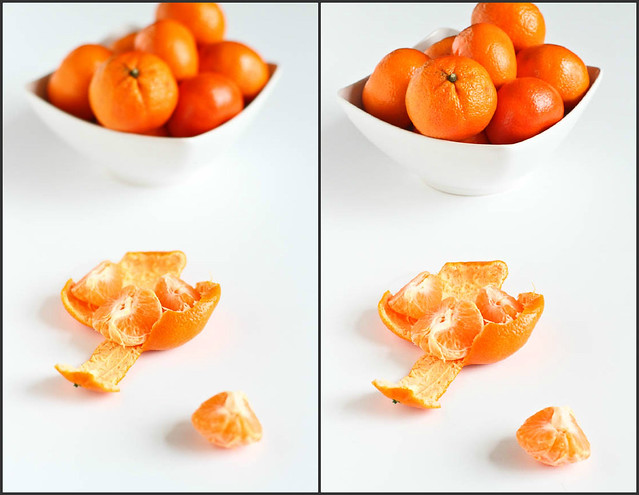
Left: f/2.0, Right: f/11.0
In Photoshop Elements, you can actually enhance the depth of field, using either the Simple or Custom modes. Let's look at the Simple mode.
Click Add Blur, which will blur the entire photo. Next, specify which part of the photo that you want in focus. Click on Add Focus Area, then click in the middle of your subject. Drag outward to define the focus area. This can be done in a couple of areas of the subject to achieve the desired effect.
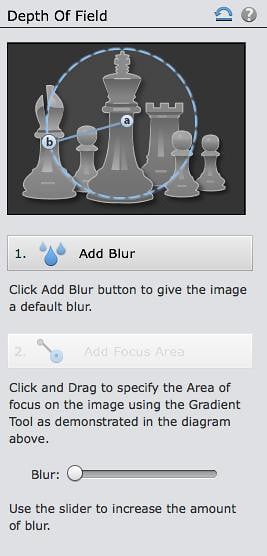
Lastly, use the Blur slider to adjust the level of the blur of the background.
Shutter Speed
Shutter speed controls how long the shutter is open, which controls the amount of light that is let in, and effects how the image is frozen.
Shutter speed is measured in seconds, or fractions of seconds. For example, a shutter speed of 1/250 means that the shutter is open for 1/250th of a second. So, 1/250 is faster than 1/60, but slower than 1/1000.
The general consensus is that 1/60 is the slowest shutter speed you should use while holding the camera in order to avoid camera shake, which leads to blurred images. If using a shutter speed slower than 1/60, a tripod is recommended.
So, when do you use slower or faster shutter speeds? Fast shutter speeds are used to freeze images. For example, I typically use faster shutter speeds when I'm photographing my son's soccer games or the kids playing in the backyard.

Slow shutter speeds are used to create motion and blur in photos. For example, if you'd like to show water flowing over a waterfall or the speed of a train whizzing by, a slow shutter speed is your best bet.
ISO
ISO affects the camera's sensitivity to light. Depending on how old you are (ahem), you may remember the pre-DSLR days, when the film you bought had an ISO number written on the side of it. Today, we have the ability to control the ISO within the camera.
The general rule is this: When more light is available, use a lower ISO; when less light is available, use a higher ISO. Depending on the camera, the range available to you will be 100 to 3200 or 6400. On bright, sunny days, you'll likely turn the ISO down to 100 or 200. The higher ISO settings are good for low light situations.
One word of caution…higher ISO numbers cause more "noise", or graininess, in the photo. I recommend manipulating the aperture and shutter speed settings first, leaving the ISO settings as low as possible. If the light is still inadequate, then by all means, increase the ISO.
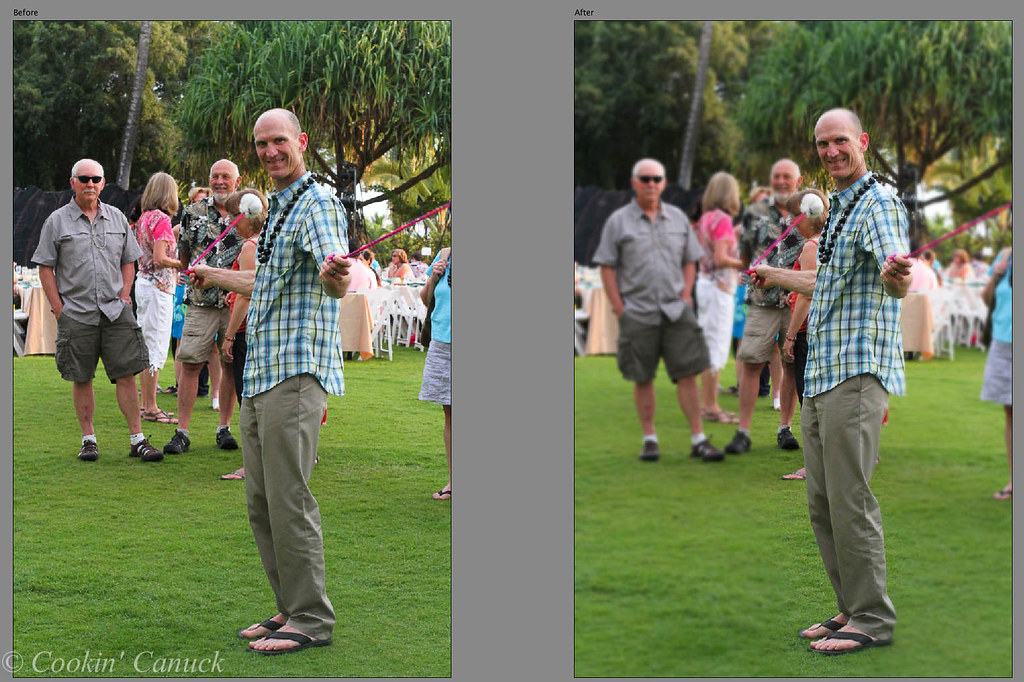
With a powerful tool such as Photoshop Elements 13, you can remove much of the noise in photos.
Click on the Details icon to use the Noise Reduction feature, then use the Color and Luminance sliders to reduce the noise.
Before and after
What's the most important thing when mastering using Manual mode? Practice, practice, practice. You won't be sorry!
The giveaway:
For a chance to win a copy of Adobe Photoshop Elements/Premiere Elements, use the giveaway entry form below. Once you answer the question and click "Submit", additional entries will be available (in other words…more chances to win!).
Disclosure: This post and the giveaway are sponsored by Adobe. All opinions are my own.


sherry klusman
Oh Oh Oh, this is just what I need. I've been a photographer for years settling for more or less simple equipment because I couldn't get the hang of mored technical items. More instruction please! What a great giveaway!
Brian @ A Thought For Food
I too remember when I first learned hot to shoot manual, which, seeing that I went to film school, was a little easier to grasp. I do remember back in the day when I had to learn what the aperture was and how confusing it was that the smaller number meant a larger opening (how is that possible?!?!? :-))
Such a great, informative and well-written post, Dara!
Melanie
It took me awhile to figure out manual mode, but I am so glad I did. It made all the difference. Loved your explanation. Good info for any budding photographer.
Rose | The Clean Dish
Wow this is a great How-To!! You know, ISO was the hardest for me to grasp, for some reason. Your instructions are very clear and concise - pinning this for reference!!
Nancy P.@thebittersideofsweet
So I have been wondering about how to do this lately with my own camera! I think when I have some light tomorrow I will pull out my camera and read along with your instructions! Thanks for all the pointers!
Angie | Big Bear's Wife
I love Todd and Diane! I've been using the manual mode for a while now but still need to learn more! Love all of the examples!