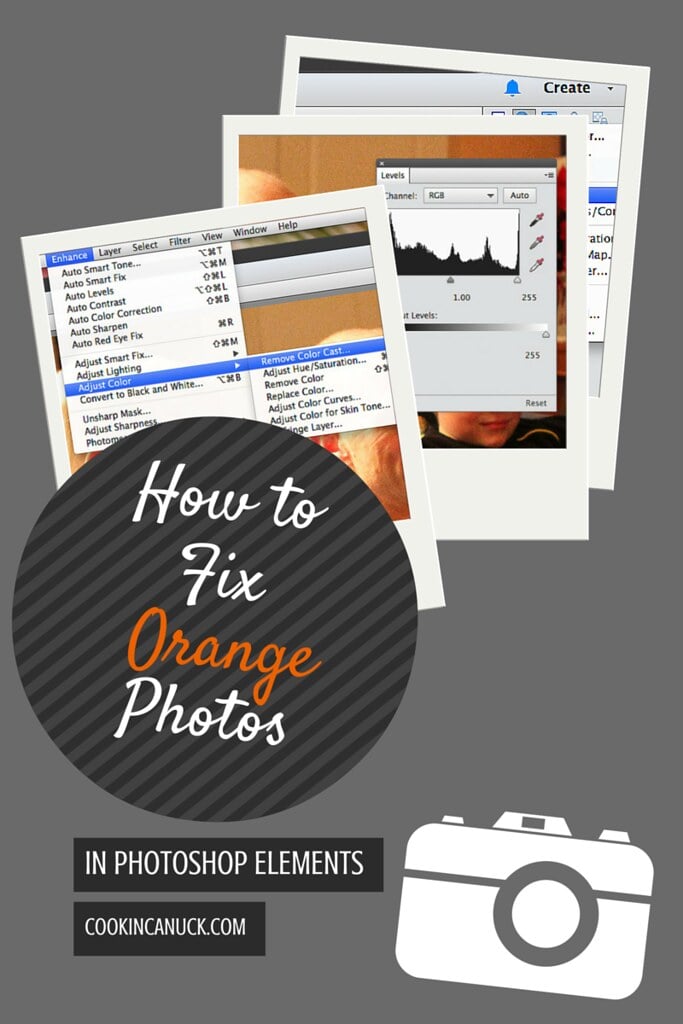
Learn how to get rid of the orange cast (or other colors) in your favorite photos, using a few post-processing tricks. Thank you to Adobe for helping me share this post with you.
As much as I want to capture some perfect holiday and winter photos each year, taking indoor shots when the sun goes down at 4 o'clock can produce color casts that seem to ruin the whole effect.
You know what I mean, right? The kids are putting their favorite ornaments on the Christmas tree or your guests are raising their glasses of champagne as December 31st turns to the new year. But every single photo you take looks…well, orange.
Of course, you can adjust the white balance in your camera, use a fancy flash or lighting system…but what if you didn't get the settings quite right when you took the picture? What if the only flash you have is the one on the camera? You know, the one that casts light about 1 foot in front of it or produces some really odd glare.
This is where some tips and tricks of post processing come into play. Last week, we talked about my favorite Food Photography Tips (which can also be used for more than food). Now let's focus more on what happens after you take the photo.
I'm going to show you an easy step-by-step process that you can use in Adobe Photoshop Elements 13 that will eliminate that color cast and turn your photo into something to keep forever.
If you shoot in RAW, you will have the most control over post-process, but I'm going to show what can be done with a JPG photo. And remember, the better the photo you begin with, the easier the edits will be and the better the final result. In other words, take care to learn your camera settings and use the best lighting available.
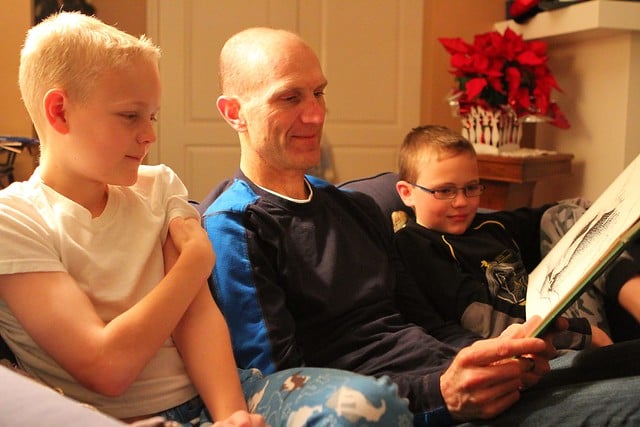
My photo:
Every year on Christmas Eve, my husband and I read How the Grinch Stole Christmas and The Night Before Christmas to our two boys, a tradition that started when I was a little girl. And every year, we end up with orange photos to commemorate the event.
So, I set to work in Photoshop Elements to fix one of last year's photos.
Step 1: Auto
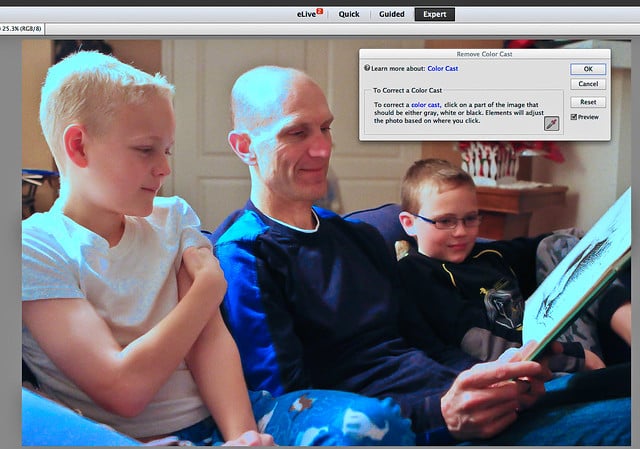
The first step to try, which works on some photos, is to use a one-step process to remove the color cast. Under Enhance, chose Adjust Color and then Remove Color Cast. That might be all you need to do.
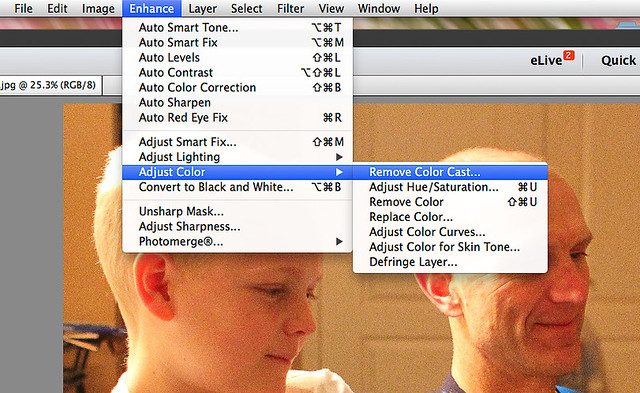
However, in this photo, the results weren't what I was looking for. There was a little bit too much of a blue cast for my liking.
Step 2: Layers
In this step, we are going to use the Layers feature in Photoshop Elements. Make sure that you are in the Expert mode in the Elements Editor.
![]()
Click on the layers icon in the top right corner and chose Levels in the drop-down menu. This will bring up a separate layer above your original thumbnail, as well as a Levels histogram in a separate box.

First, click on Auto. This may solve your problems right away! If you don't like the effect, just Undo it.
Use the droppers to set the white, black and/or gray points in the photo. For example, click on the white (bottom) dropper, point it at an element of your photo that should be white and click. The cast of the photo will adjust.
Try the same thing with the black and gray droppers.
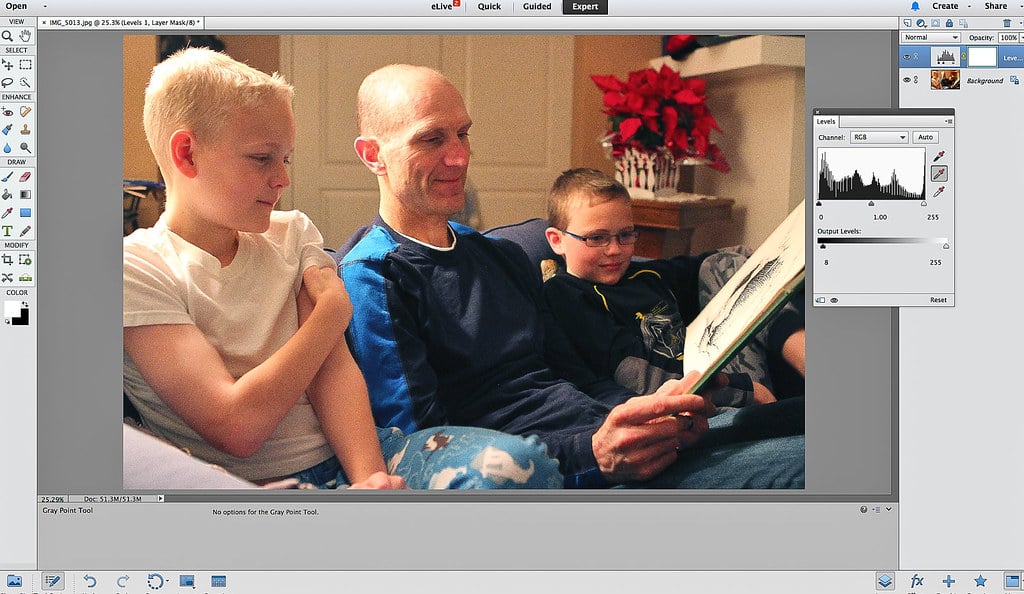
After setting each dropper, use the slider to adjust the Output Levels to suit your preference.
In the photo above, I used all three droppers and adjusted the sliders until I achieved the effect I was looking for.
Step 3: Merge
Next, I merged the two layers to save the effects. Under the Layer drop-down menu at the top, choose Flatten image.
Step 4: Other adjustments
Once the orange color cast was eliminated, I set to work using some of the regular editing tools, such as adjusting the saturation, sharpness and eliminating a couple of blemishes.
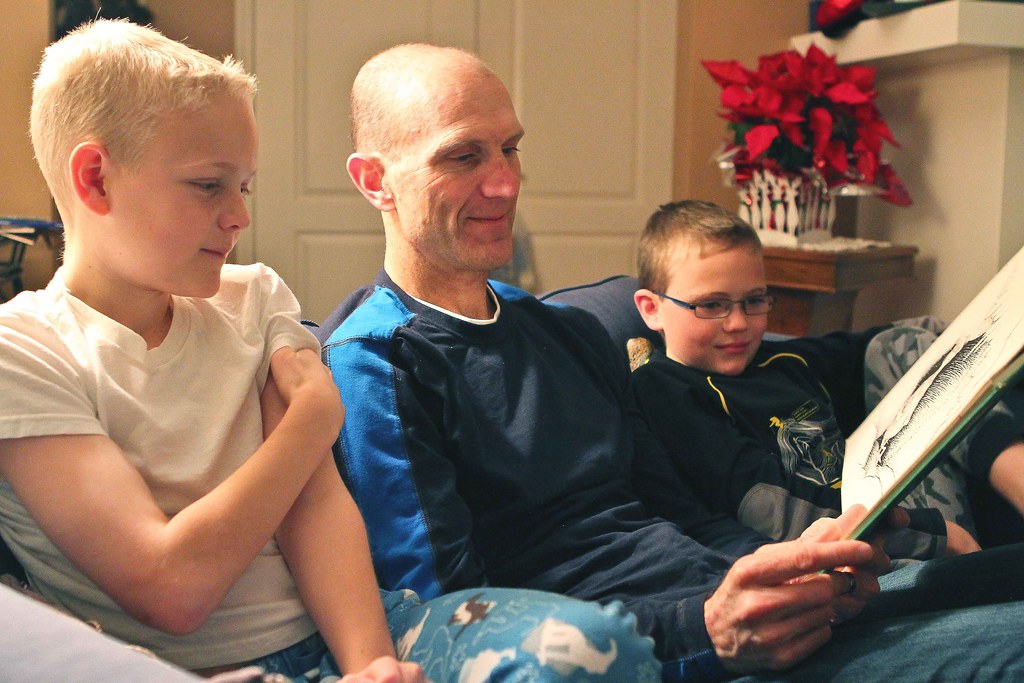
The result:
Here is the photo before:
And after removing the color cast (plus a few other small adjustments):
Now I will be snapping away with confidence this holiday season, knowing that my photos won't be destined for the "orange cast" graveyard. Hallelujah!


Jane
Everyone loves what you guys tend to be up too.
This sort of clever work and coverage! Keep up the awesome works guys I've added you guys to our blogroll.